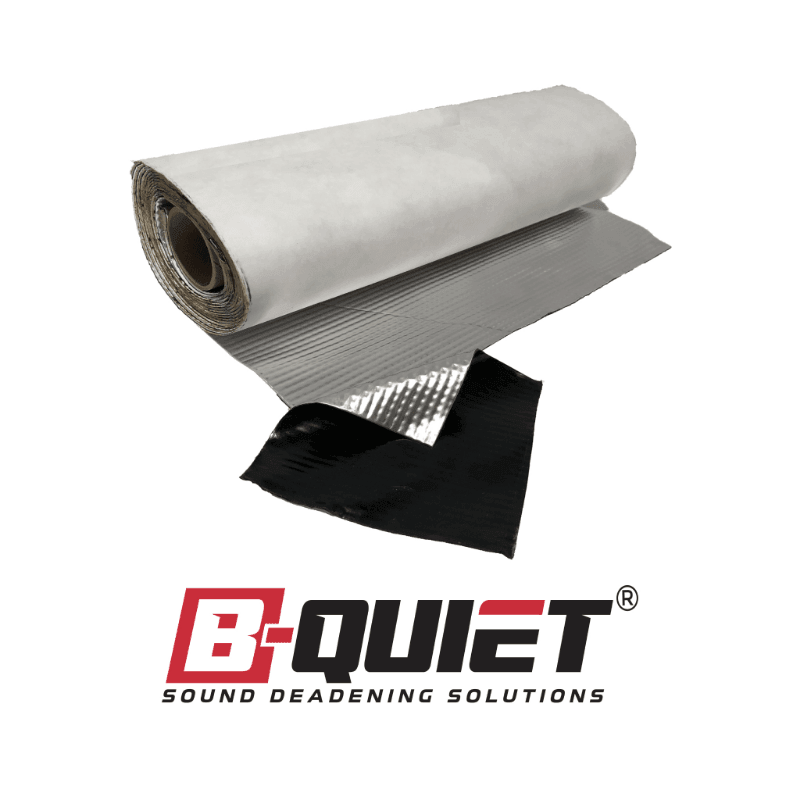
Step-by-Step Tutorial on Reducing Road Noise in Vans
Road noise can significantly affect the comfort and driving experience in your van. We understand that a noisy ride can disturb conversations, affect your ability to enjoy music, and even influence driver fatigue over long journeys. That's why tackling this issue with effective sound deadening solutions is so important. Quite simply, reducing road noise makes your journey quieter and more enjoyable.
Firstly, it's crucial to understand what contributes to road noise in your van. This noise typically enters through the floor, doors, and even the windows and can be amplified by the large, often hollow spaces characteristic of vans. By addressing these key areas with proper sound deadening materials, you can significantly cut down on the background noise and vibrations. Not only does this make for a quieter ride, but it also adds an element of privacy and isolation from the outside world, helping you maintain peace inside your vehicle no matter the conditions outside.
Furthermore, as you prepare to embark on your sound deadening project, knowing exactly where and how to apply these materials will make your efforts more efficient and effective. From choosing the right materials to understanding their installation nuances, each step you take towards soundproofing your van is a step towards a quieter, more serene vehicle environment. These initial considerations set the stage for us to dive deeper into the specific methods and best practices for sound deadening. Let's get started on transforming your van into a peaceful sanctuary on wheels.
Understanding Road Noise in Vans and Why it Matters
Road noise in vans can significantly impact your driving experience and overall comfort while traveling. We know that excessive noise can lead to fatigue, stress, and decreased concentration, which are not good whether you're on a long haul or just dealing with day-to-day traffic. In vans, particularly those used for commercial purposes or extended travels, road noise comes predominantly from two sources: the engine and interaction between the tire and road surface.
Why is this important? First, improved comfort leads to better driving performance and safer travels. Drivers who are less distracted and more at ease can focus better on the road. Second, for those who use their vans for professional purposes, a quieter environment allows for clearer communication and professionalism, especially if the van serves as a mobile office or workspace. Additionally, in personal use scenarios like family trips or recreational outings, reducing noise means more enjoyable journeys where you can converse easily, listen to music, and not feel overwhelmed by the sounds of travel.
Key Areas to Target for Sound Deadening in Your Van
When you think about making your van quieter, knowing where to focus your efforts can make all the difference. Here are the key areas in a van where applying sound deadening materials can yield the best results:
- Doors: Doors are primary access points for exterior noise, especially from the sides. Sound deadening mats can be placed inside door panels to dampen this noise effectively.
- Floor: The floor of a van is a direct barrier between you and the road. Installing a layer of sound deadening material under the carpet or flooring panels can greatly reduce the noise from the road.
- Wheel Wells: Noise from the tires can be loud, especially when traveling at high speeds or on rough surfaces. Covering the wheel wells with sound-deadening spray or mats can help mitigate these sounds.
- Roof: Noise can also enter through the roof, particularly in rainy or windy conditions. A layer of sound deadening on the roof can help keep these environmental noises at bay.
- Engine Bay: The engine is a major source of noise in any vehicle, including vans. Using specially designed mats that can withstand high temperatures in the engine bay can significantly reduce noise entering the cabin.
By targeting these areas, you can significantly enhance the peacefulness of your van's interior, making every ride more enjoyable and comfortable, whether for work or pleasure.
Step-by-Step Guide to Installing Sound Deadeners
Installing sound deadeners in your van is not just about adding layers to the vehicle; it's about enhancing your travel comfort by minimizing unwanted noise. Let's walk through a straightforward process that will help you effectively insulate your van against road noise. The first step is to choose the right type of sound deadening material that suits your needs and budget. Once you have your materials ready, start with a clean surface area. Make sure all surfaces where sound deadeners will be applied are free from dirt and grease. This ensures optimal adhesion and effectiveness.
Begin by measuring and cutting the sound deadening materials to fit the targeted areas such as doors, floors, and wheel wells. For doors and floors, it's often easiest to apply the mats from the corner inward, pressing firmly to remove air bubbles and ensure solid contact. Use a roller or similar tool to help with this process. For engine bays and wheel wells, consider heat-resistant materials specifically designed for these high-temperature areas. Fix the material in place using a high-quality adhesive that can withstand both high temperatures and vibration.
Tips for Maintaining and Maximizing the Effectiveness of Sound Deadeners
To keep the sound deadening materials in your van effective and in good condition, regular maintenance is key. Periodically check the adhesion of all applied materials in case they become loose or detached. This can happen due to temperature changes or the aging of adhesive substances. If you find any loose sections, reapply adhesive or replace the material as necessary. Keeping the internal surfaces of your van clean can also prolong the life of the sound deadeners. Avoid using harsh chemicals or rough brushes near sound deadening materials to prevent damage.
Additionally, consider checking for any rust on metal surfaces before applying new sound deadening materials, as rust can significantly undermine the effectiveness of soundproofing. If rust spots are found, treat them before continuing with any insulation work. With proper maintenance, the sound deadening materials will continue to perform efficiently over the years, reducing noise and enhancing your on-the-road experiences.
Conclusion
Wrapping up our journey in enhancing van tranquility with sound deadeners, it's clear that the quiet provided by soundproofing isn't just about comfort—it's about experiencing better rides and potentially enhancing your vehicle's value. Whether it's for a smoother conversation, better music experience, or simply a peaceful ride, addressing vehicle noise through soundproofing is worth the effort. Remember, a quieter van isn't just a luxury; it can be a game-changer for your travel or work.
If you're ready to transform your van into a peaceful sanctuary, explore our wide variety of vehicle sound deadening products. We have everything you need to start your journey towards a quieter van. Contact us today to learn more, or visit our website for detailed product information and installation guides. Let us help you find the perfect sound deadening solution for your van. Experience the difference with B-Quiet.


